Glow Naturally With Custom Skin-Loving Ingredients
If you’re into skincare but tired of expensive store-bought serums filled with hard-to-pronounce chemicals, you’re not alone. More and more women are turning to DIY skincare—and with good reason.
A homemade face serum lets you control exactly what goes onto your skin. You can customize it based on your needs, whether it’s hydration, anti-aging, acne, or glow. And best of all? It’s easier to make than you might think.
In this complete guide, you’ll learn everything you need to know about making your own face serum at home—from choosing the right base oils to adding powerful active ingredients.
Why Use a Face Serum?
Face serums are lightweight, fast-absorbing skincare products packed with high-performance ingredients. They’re designed to deliver nutrients deep into your skin and target specific concerns like:
- Fine lines and wrinkles
- Dryness or dullness
- Acne and redness
- Uneven tone or dark spots
- Loss of firmness
Store-bought serums can be pricey—and often loaded with preservatives, fragrances, and synthetic fillers. A DIY serum, on the other hand, is pure, affordable, and tailored for you.
Step 1: Choose Your Base Oils
Your base oil (also called a carrier oil) makes up most of your serum and helps nourish and moisturize the skin.
Here are a few top choices depending on your skin type:
🌿 For Dry or Mature Skin:
- Argan oil – rich in vitamin E, deeply moisturizing
- Jojoba oil – mimics natural skin oils
- Rosehip oil – brightens and helps reduce fine lines
🌿 For Oily or Acne-Prone Skin:
- Grapeseed oil – lightweight, non-comedogenic
- Hemp seed oil – balances oil production
- Squalane (plant-derived) – absorbs quickly without clogging pores
🌿 For Sensitive Skin:
- Sweet almond oil – calming, gentle
- Apricot kernel oil – light and non-irritating
👉 Tip: Use 2–3 base oils in combination to balance texture and benefits.
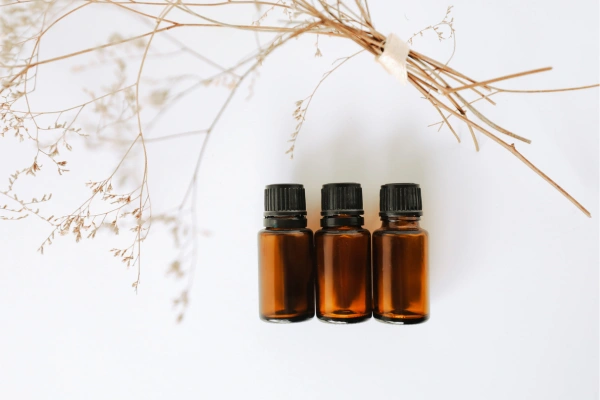
Step 2: Add Targeted Essential Oils
Essential oils provide concentrated skincare benefits and natural fragrance. Always dilute properly—just 1–2% of your total blend.
Here are great choices by concern:
✨ For Anti-Aging:
- Frankincense – supports skin regeneration
- Myrrh – firming and nourishing
- Rose – tones and improves elasticity
✨ For Acne or Redness:
- Tea tree – antibacterial and calming
- Lavender – soothes irritation
- Geranium – balances oil and tightens pores
✨ For Brightening:
- Lemon (use only at night – it’s photosensitive)
- Carrot seed – antioxidant-rich
- Helichrysum – fades dark spots
⚠️ Essential oil safety tip: Always do a patch test before using new oils, especially on sensitive skin.
Step 3: Add Optional Boosters (Actives)
To take your serum up a notch, you can include water-soluble or oil-soluble actives—but keep it simple when you’re starting out.
Some safe beginner-friendly options:
- Vitamin E – antioxidant, extends shelf life
- CoQ10 – anti-aging powerhouse
- Niacinamide (for water-based serums) – brightens and smooths skin
- Sea buckthorn oil – deeply healing and regenerative
These can be added at 0.5% to 5% depending on the ingredient. If unsure, start low.
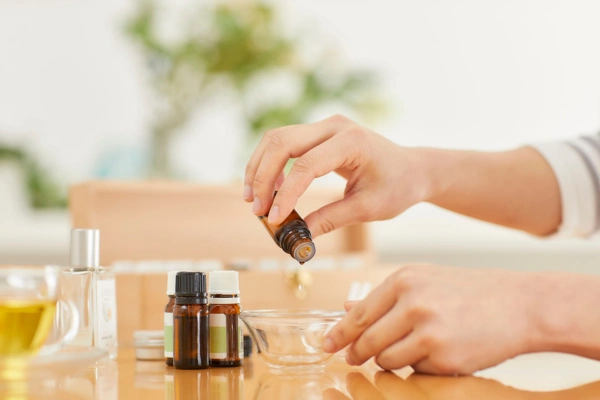
Step 4: Mix and Store Properly
Basic DIY Face Serum Recipe:
Ingredients:
- 2 tbsp jojoba oil
- 1 tbsp rosehip seed oil
- 3 drops frankincense essential oil
- 2 drops lavender essential oil
- 1 capsule vitamin E (optional)
Instructions:
- Add carrier oils to a dark glass dropper bottle (1 oz is perfect).
- Drop in essential oils and shake gently.
- Store in a cool, dark place away from sunlight.
- Use within 3–4 months.
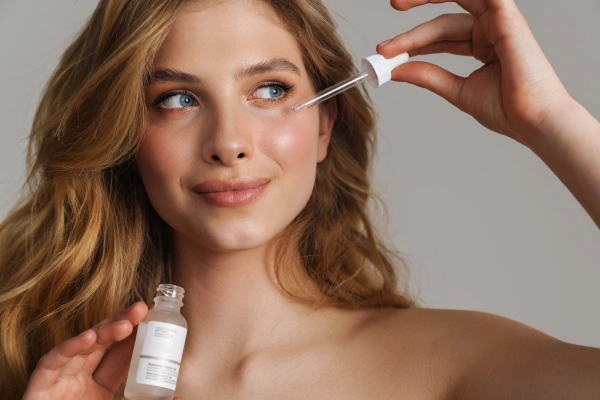
How to Use Your Homemade Face Serum
- Apply 2–3 drops to clean skin after cleansing and toning
- Gently massage into the face and neck
- Follow with a moisturizer if needed
- Use morning and/or night, depending on your ingredients
👉 Bonus: You can also dab it under the eyes or on your hands for added glow.
Tips for Success
- Always use high-quality, cold-pressed oils
- If your skin reacts, simplify your formula
- Start with small batches
- Track what works best for your skin (especially seasonal changes)
Custom Serum Blends by Skin Goal
✨ Glow Booster:
- 1 tbsp jojoba oil
- 1 tbsp rosehip oil
- 2 drops carrot seed oil
- 2 drops lemon oil (PM use only)
- 1 drop vitamin E
✨ Anti-Aging Blend:
- 1 tbsp argan oil
- 1 tbsp squalane
- 2 drops frankincense
- 2 drops myrrh
- 1 capsule CoQ10 (pierced)
✨ Acne Fighter:
- 1 tbsp hemp seed oil
- 1 tbsp grapeseed oil
- 2 drops tea tree
- 2 drops lavender
- 1 drop geranium
Final Thoughts
Creating your own face serum at home is not just easy—it’s empowering. You’ll be amazed at how your skin glows when you nourish it with ingredients you trust.
Whether your goal is firmer skin, fewer breakouts, or just a healthy glow, this simple DIY skincare ritual can make a big difference. Start with one blend, keep it clean, and adjust as your skin changes.
Related Articles
- Top 10 Face oils for all skin types
- 10 Best Essential Oils to Tighten Skin Naturally
- 5 Creative Ways to Use Essential Oils Every Day
- 5 Best Essential Oils To Tighten Skin